Transforming your vinyl floors with a fresh coat of paint is a cost-effective way to update your space and give it a brand-new look. Follow these simple steps to achieve a beautifully painted vinyl floor:
Step 1: Gather Materials
Materials Needed: Primer, paint suitable for vinyl floors, paint roller, painter’s tape, sandpaper, cleaning solution
Gather all the necessary materials: primer specifically formulated for vinyl, paint suitable for vinyl floors, paint roller, painter’s tape to protect baseboards, sandpaper for light sanding, and a cleaning solution to thoroughly clean the floor.
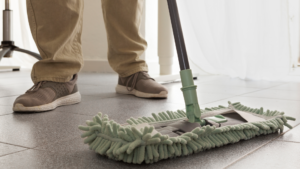
Step 2: Clean and Prep the Floor
Process: Surface preparation
Clean the vinyl floor thoroughly with a cleaning solution to remove any dirt, dust, or residue. Allow the floor to dry completely before proceeding to the next step.
Step 3: Sand the Surface
Technique: Enhancing adhesion
Lightly sand the vinyl surface with fine-grit sandpaper. This step helps create a slightly rough texture, allowing the primer and paint to adhere better to the floor.
Step 4: Apply Primer
Application: Primer coat
Apply a coat of primer designed specifically for vinyl floors. Use a paint roller to ensure even coverage across the entire floor. Let the primer dry completely according to the manufacturer’s instructions.
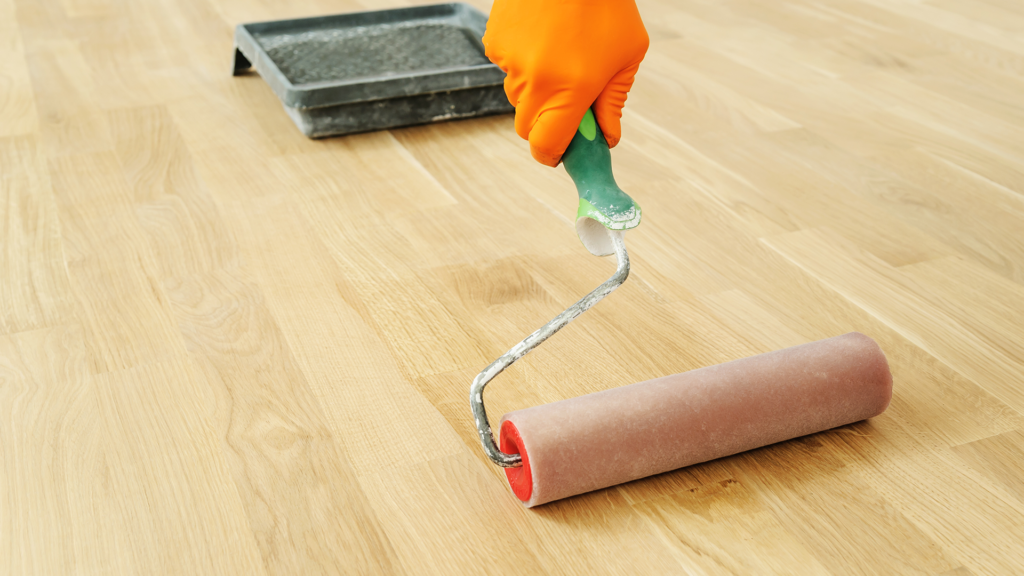
Step 5: Paint the Floor
Technique: Applying paint
Once the primer is dry, apply the paint in even strokes using a paint roller. Start from the farthest corner of the room and work your way towards the exit to avoid stepping on wet paint. Apply additional coats as needed for uniform color and coverage.
Step 6: Allow to Dry
Tip: Patience is key
After painting, allow the floor to dry completely as per the paint manufacturer’s instructions. This ensures a durable finish and prevents any premature damage to your newly painted floor.
Enjoy Your Newly Painted Vinyl Floor!
Once the paint has dried completely, move your furniture back into place and enjoy your refreshed vinyl floor. You’ve successfully transformed your space with a budget-friendly DIY project that brings new life to your room.