
Protecting your floors from scratches and scuffs doesn’t have to be complicated or expensive. With just a few simple materials and a bit of creativity, you can create custom floor protectors for your furniture legs. Here’s how:
Materials Needed: Felt pads, hot glue gun, scissors, furniture legs
Gather your materials: felt pads, a hot glue gun, scissors, and the furniture pieces you want to protect.
Technique: Precision cutting
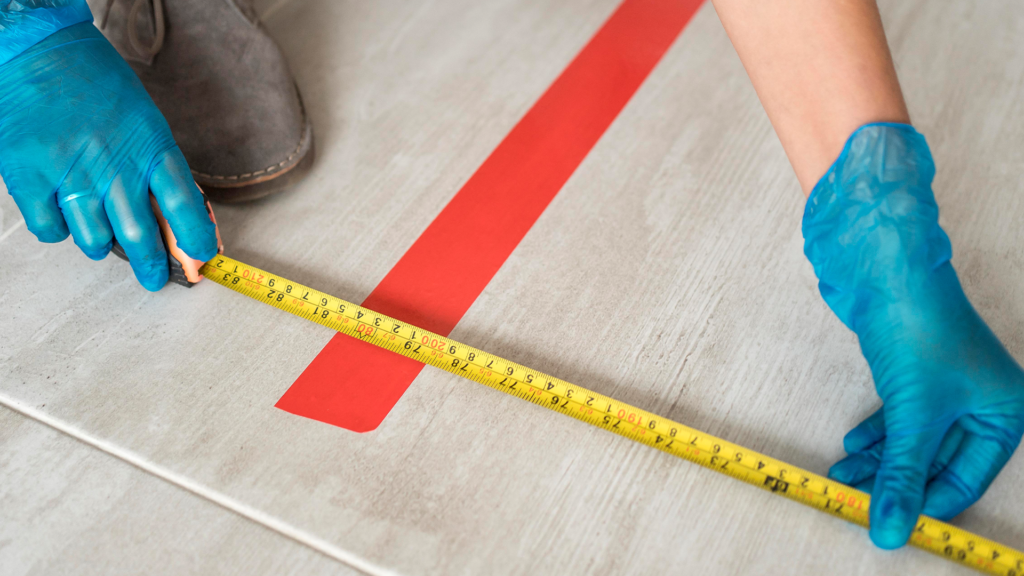
Measure and cut the felt pads into appropriate sizes that match the dimensions of your furniture legs. Ensure the pads are slightly smaller than the leg to avoid visibility.
Technique: Applying adhesive
Using a hot glue gun, apply a generous amount of hot glue to the back of a felt pad. Be careful to spread the glue evenly to ensure strong adhesion.
Technique: Press and hold
Press the felt pad firmly onto the bottom of the furniture leg. Hold it in place for a few seconds to allow the glue to set properly and ensure a secure bond.
Process: Repeat steps for each leg
Repeat steps 3 and 4 for each furniture leg that requires protection. Ensure all legs are covered with felt pads to prevent any potential damage to your floors.
Tip: Patience is key
Allow the hot glue to dry completely before moving the furniture back into place. This ensures the protectors are firmly attached and ready to safeguard your floors.
Once the protectors are securely in place, move your furniture back to its original position. You can now enjoy peace of mind knowing that your floors are protected from scratches and marks caused by furniture movement.
